

Installation guide
How to install natural stone veneer sheets
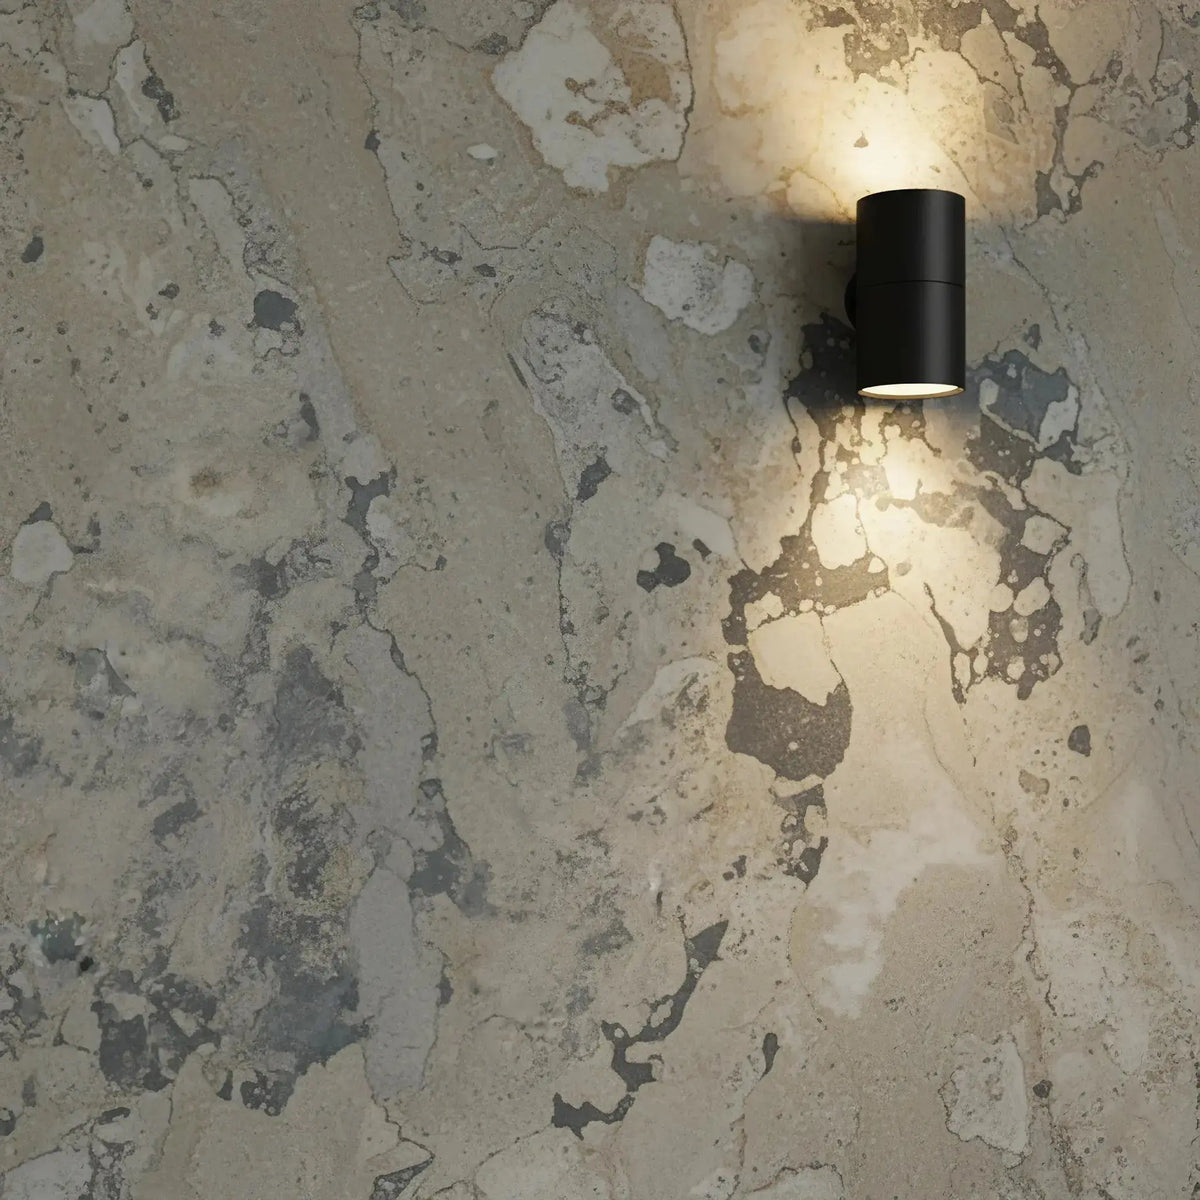
Installing stone veneer is within everyone's reach. Thin (1 to 2 mm), light and flexible, it cuts with a saw and is bonded with a caulking gun. Follow the steps in order, one action at a time.
What you need
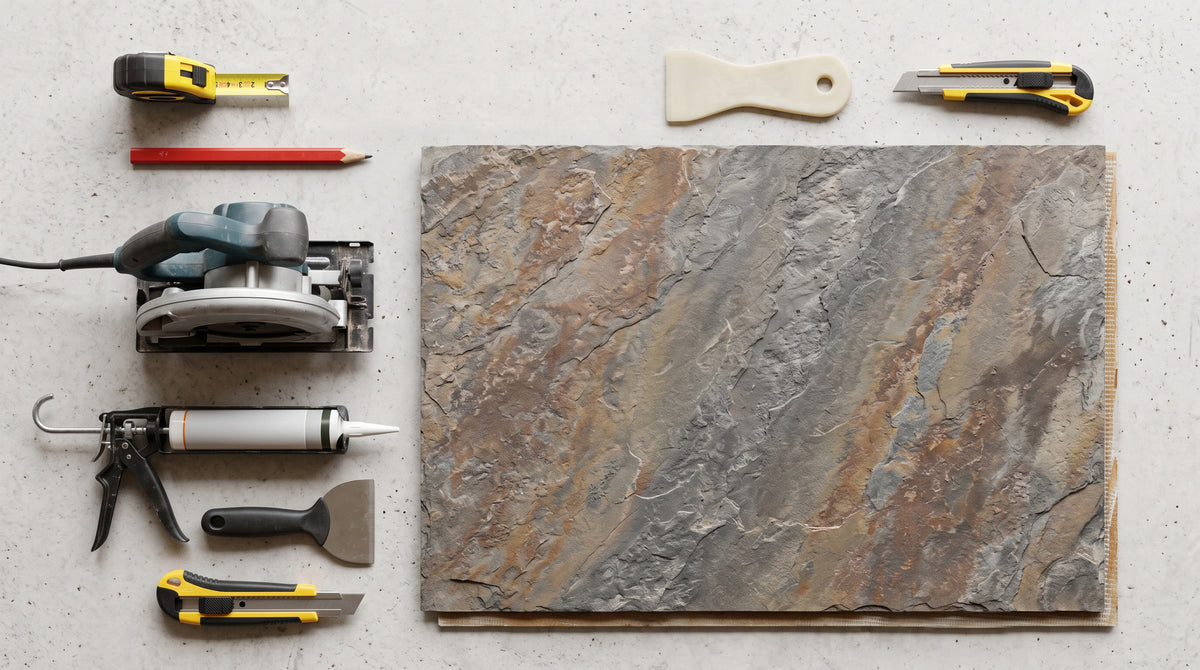
- Stone veneer sheets, +10% for cuts
- OTTOCOLL M 500 adhesive and caulking gun
- Ottoseal S70 silicone, clear or coloured
- Lithofin Fleckstop W sealer
- Masking tape, pencil, ruler, tape measure, spirit level
- Circular saw, jigsaw, drill with hole saw, multi-tool
- 120-grit sandpaper, roller, clean cloth
- Safety glasses and gloves
Materials and products
-
Setting product
Adhesive Sealant for Natural Stone and Ceramics - OTTOCOLL M 500
Regular price 13,50€ /tube 310 ml13,50€ /tube 310 ml Sale priceUnit price /tube 310 ml per -
Installation Product
Transparent Silicone for Natural Stone - OTTOSEAL S70
Regular price 23,50€ /tube 310 ml23,50€ /tube 310 ml Sale priceUnit price /tube 310 ml per -
Protection Product
Solvent-Free Stain Protector Waterproofer - LITHOFIN Fleckstop W
Regular price From 18,90€ /NonsenseFrom 18,90€ /Nonsense Sale priceUnit price /Nonsense per
Step 1
Prepare the sheets
- Check the sheets on delivery, before installing them.
- Lay them out on the floor and mix them for a harmonious result: as with any natural stone, shades and veins vary from one sheet to another.
- Number them on the back: you will then install them in the chosen order, without hesitation.
Step 2
Prepare the wall
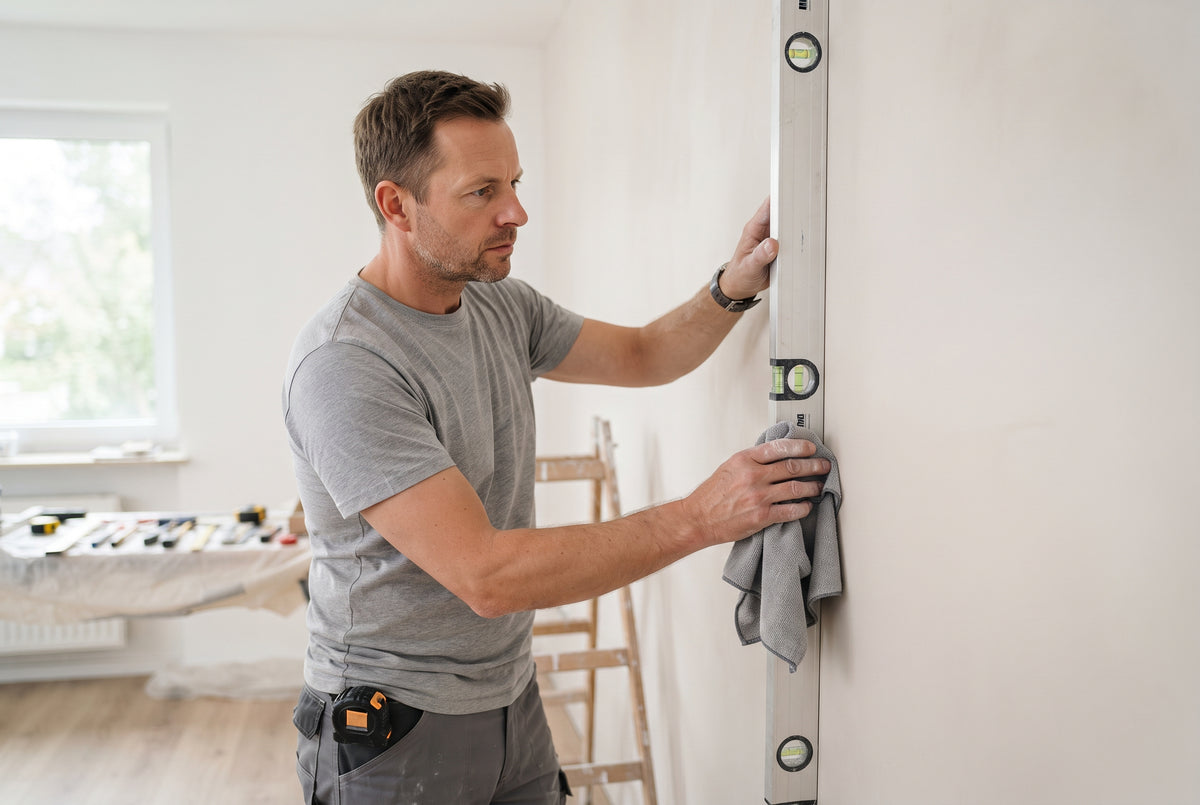
- Check the surface: clean, dry and flat, between 10 and 30 °C.
- On existing tiles: clean, degrease and fill recessed grout lines.
- Draw a level line at the bottom of the wall: it is your installation reference, as floors and ceilings are rarely straight.
- If the whole wall is visible, start from the middle: equal cuts on both sides, with no strip narrower than 10 cm.
Step 3
Cut the sheets

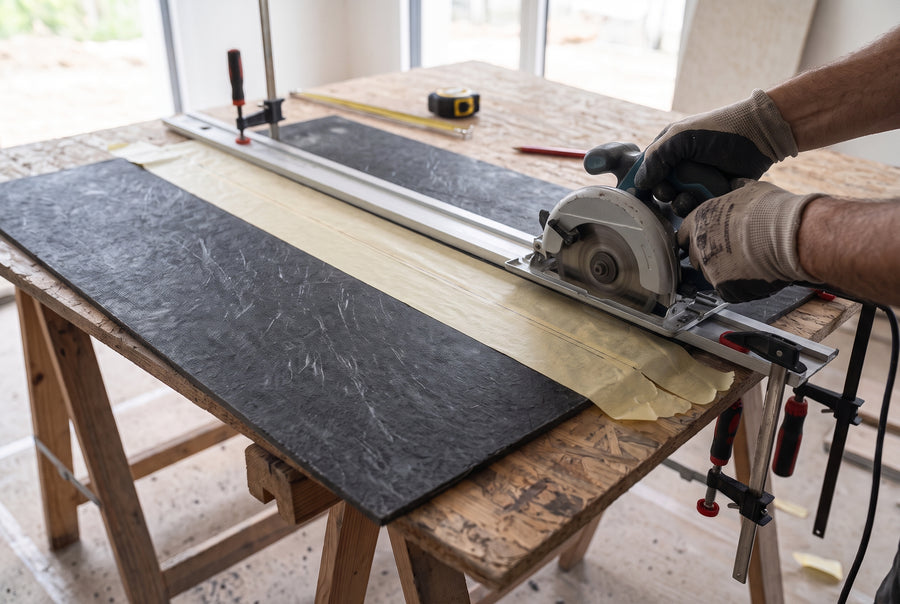
- Make all cuts before applying adhesive.
- Apply masking tape along the cut line, measure twice, mark with a ruler.
- Lay the sheet stone side down on the table: the blade enters from the back, with no chipping.
- Make a test cut on an offcut, then cut with the right tool (table below).
- Sand the edges with 120-grit paper.
- Dry-fit the sheets against the wall to check the cuts.
Step 4
Apply adhesive to the back of the sheet
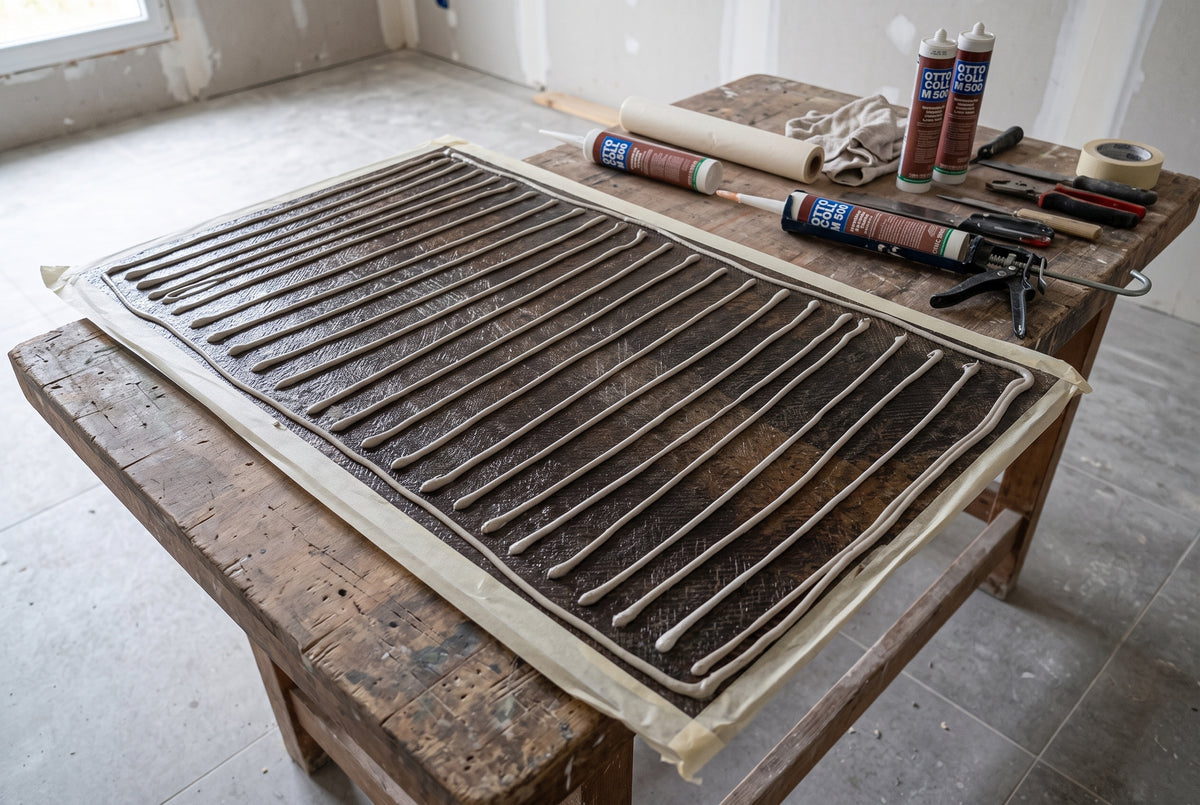
- Protect the edges on the stone side with masking tape.
- Turn the sheet over, stone side down on the table.
- Cut the nozzle for a 5 mm bead.
- Run a bead all around, 1 cm from the edge.
- Add parallel beads every 2 to 3 cm.
Step 5
Position and press

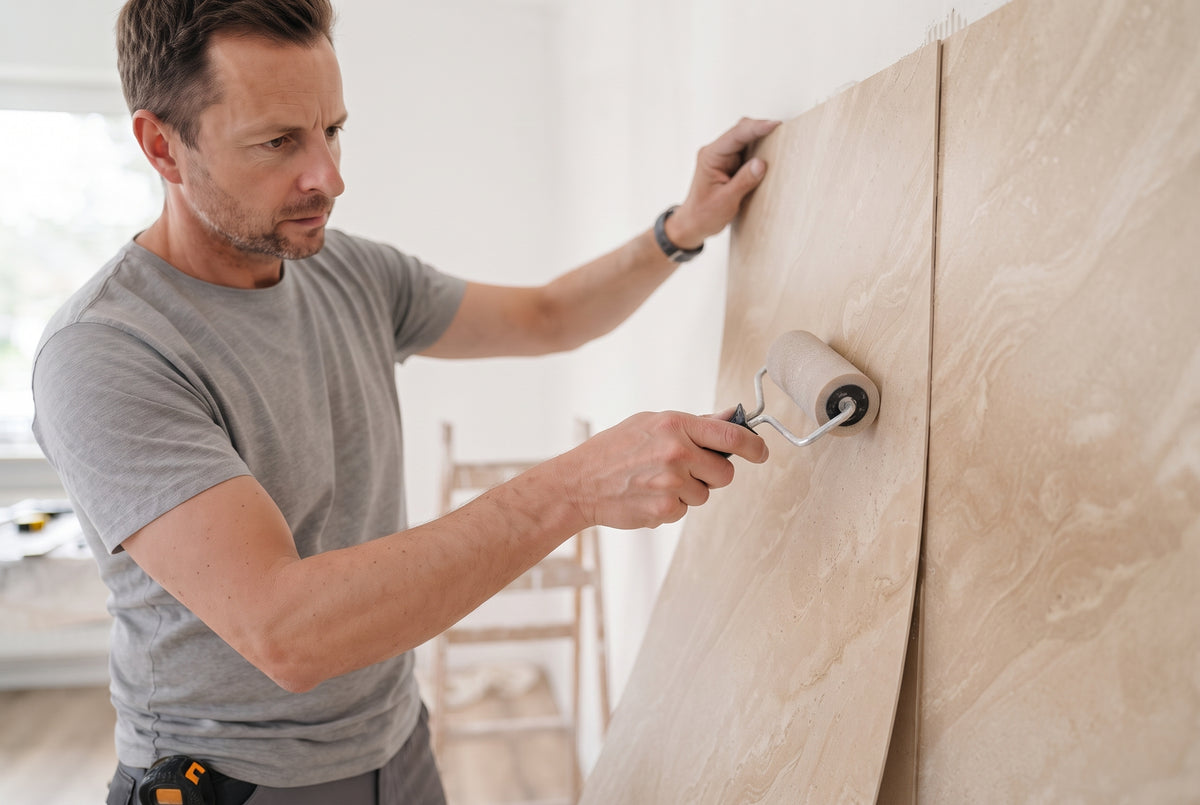
- Set the bottom of the sheet on the level line, then fold it against the wall: it can still be adjusted for a few minutes.
- Press from the centre outwards, with a roller or cloth, to push out the air.
- Check with the level and immediately wipe off any excess adhesive.
- Tap the sheet: a hollow sound means there is not enough adhesive.
- Place the next sheet edge to edge, pressed against the previous one, and wipe off the adhesive that rises into the joint.
- Work row by row, from bottom to top.
Step 6
Finish the corners and edges
- Inside corner: fit the 2nd sheet against the 1st, then seal with silicone.
- Outside corner: let it overhang by 2 to 3 mm, then sand flush after 24 h.
- Junction with the floor, ceiling or a worktop: Ottoseal S70 silicone between two strips of masking tape, smoothed with a finger dipped in soapy water; remove the tape straight away.
Step 7
Let it dry, then protect
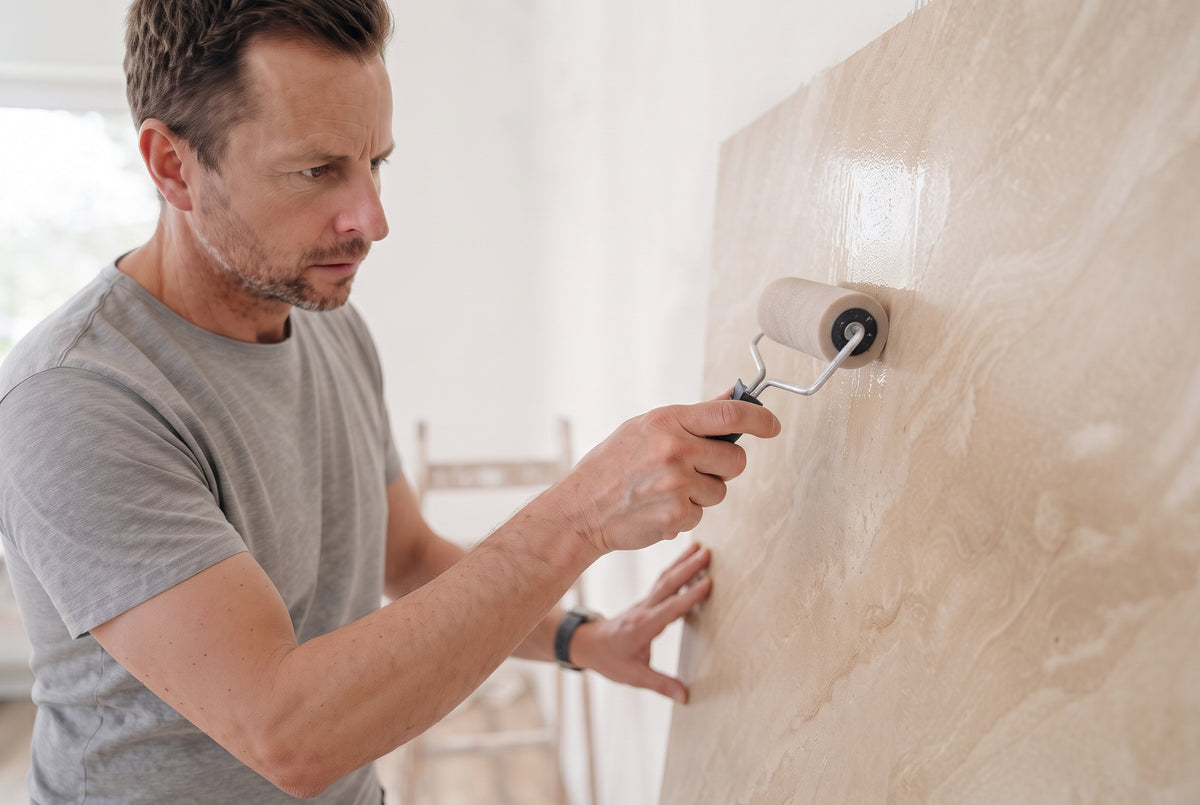
- Let it dry for 24 h; full strength after 48 h.
- Test the sealer on an offcut: it may slightly deepen the colour.
- Apply Lithofin Fleckstop W with a short-pile roller or a brush, from bottom to top.
- Wipe off the excess before it dries to avoid white marks.
All done!
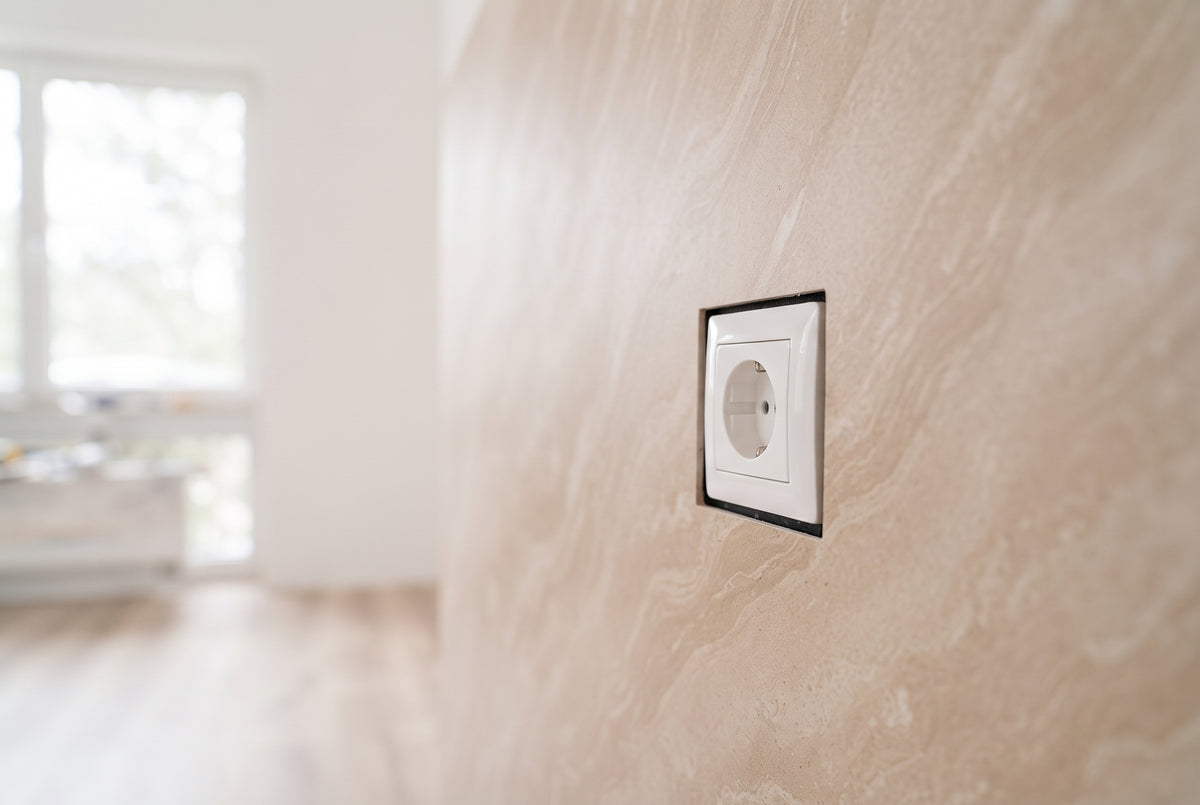
For everyday care, clear water and a soft cloth are enough (or Lithofin MN Easy Clean).
In a shower or bathroom
Same steps, with 4 extra precautions:
- Waterproof surface: moisture-resistant board with sealing resin, or descaled existing tiles
- Adhesive: a continuous bead all around each sheet
- Silicone at every junction: corners, shower tray, taps
- Sealer: 2 coats, then 24 h before the first shower
Backlit translucent veneer
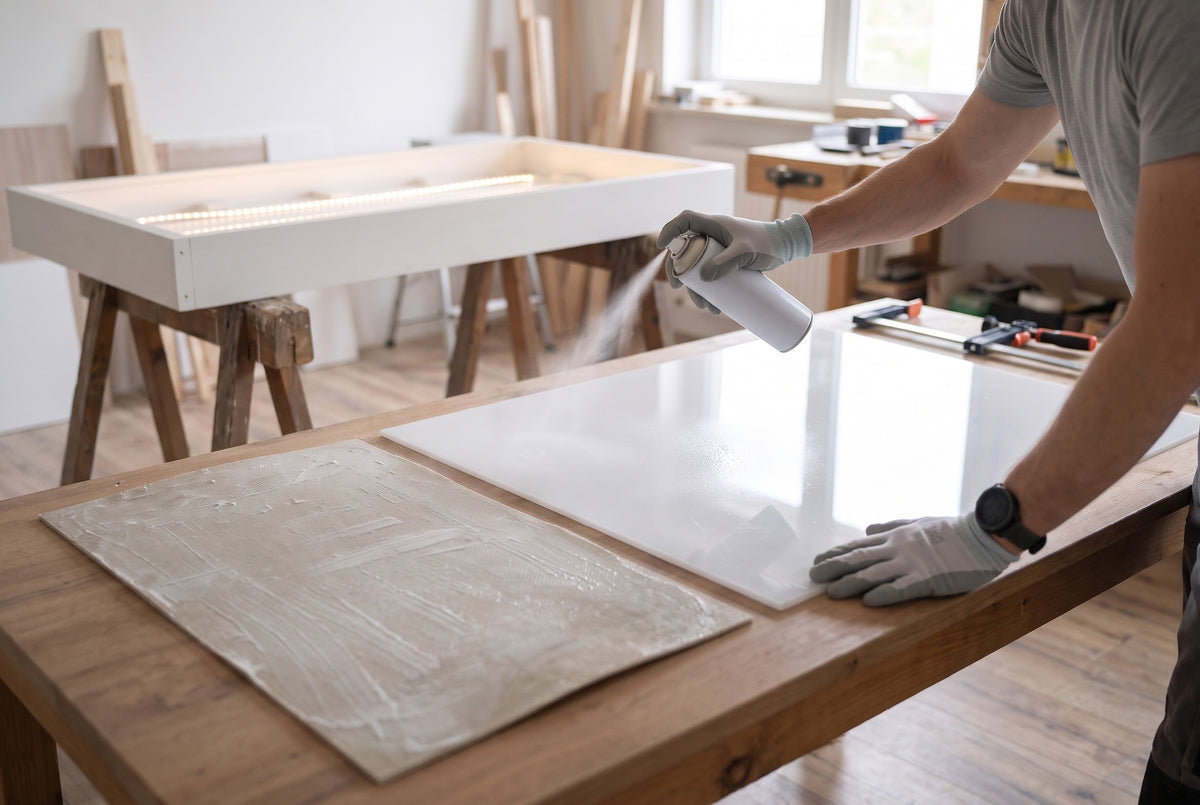

Preparation, cutting and protection: as above. Only the backing changes: the sheet is bonded to 8 mm white diffusing acrylic (Plexiglas), placed in front of a light box.
- Bond the sheet to the acrylic: spray neoprene contact adhesive on both surfaces, wait a few seconds, then join them.
- Paint the inside of the box white and fix white acrylic spacers (15 × 5 cm) to the back.
- Install the LED strips: spacing = box depth × 1.5 (10 cm deep, one strip every 15 cm).
- Bond the panel to the spacers with extra-strong clear adhesive.
- Run a stone-coloured silicone joint around the edge to block the light.
Frequently asked questions
Can it be installed over tiles?
Yes, without removing them: clean, degrease and fill any recessed grout lines.
Can it go in a shower?
Yes, on a waterproof surface, with silicone at every junction.
Is it heat-resistant?
Up to about 120 °C, as fireplace cladding, with no contact with flames.
What about curved surfaces?
Yes, the sheet bends down to a radius of about 5 cm.


